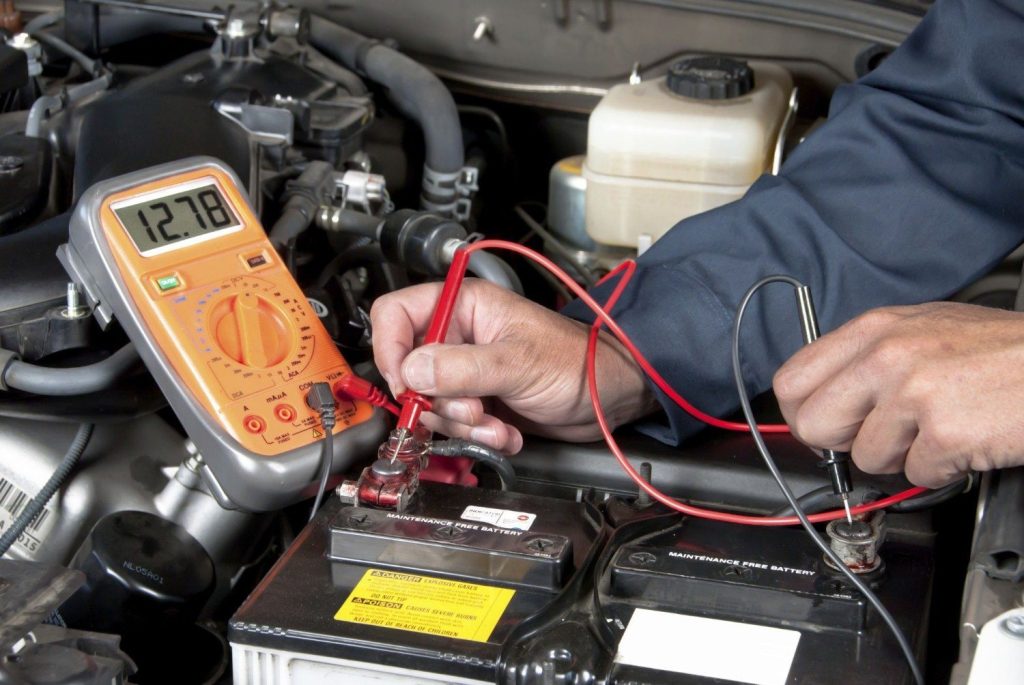
Proper maintenance of a car’s electrical connections is essential to ensure the smooth operation of various electrical components such as the ignition system, lights, sensors, and more. Over time, electrical connections can become corroded or dirty, leading to poor conductivity and potential electrical issues. In this article, we will discuss the importance of cleaning electrical connections on a car and provide a step-by-step guide on how to do it effectively.
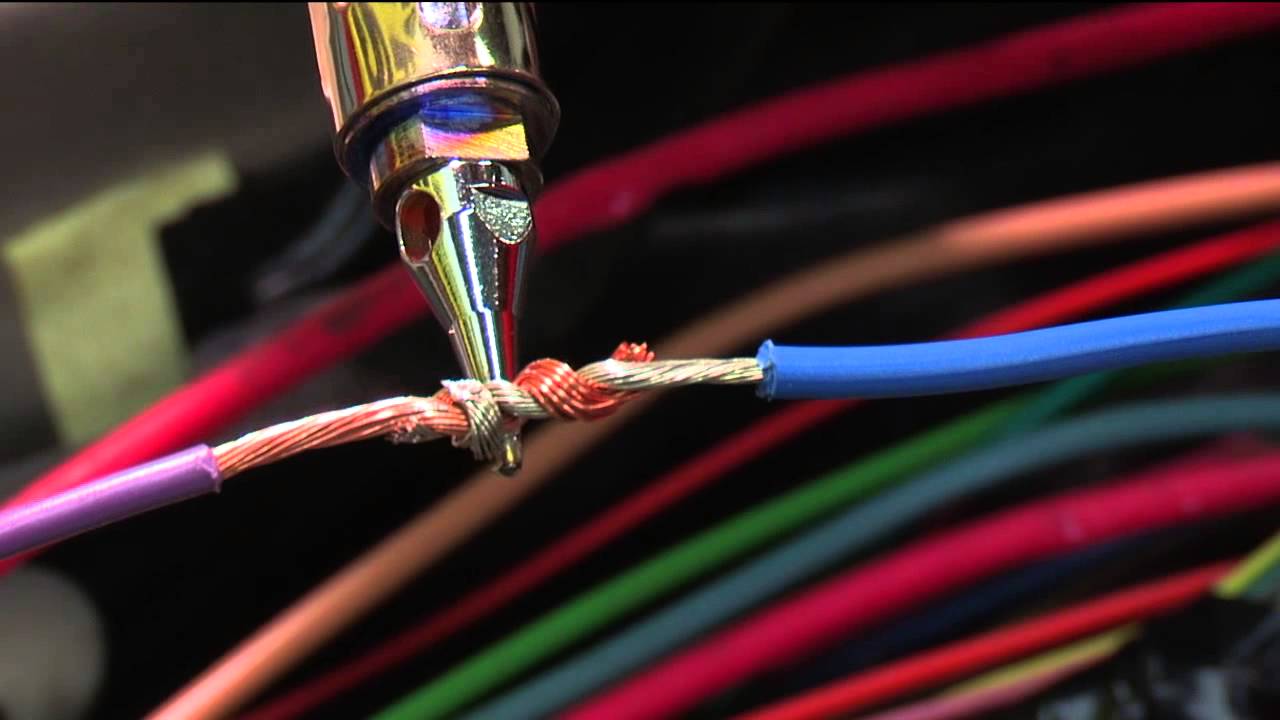
Credit: m.youtube.com
The Importance of Cleaning Electrical Connections
Electrical connections in a car can become contaminated with dirt, grease, and corrosion, which can hinder the flow of electricity and cause intermittent electrical problems. Dirty or corroded connections can lead to issues such as dim or flickering lights, difficulty starting the engine, malfunctioning sensors, and more. By regularly cleaning the electrical connections, you can prevent these problems and ensure the reliable operation of your vehicle’s electrical system.
Materials Needed
Before you start cleaning the electrical connections on your car, gather the following materials:
- Clean rags or paper towels
- Contact cleaner or rubbing alcohol
- Wire brush or abrasive pad
- Dielectric grease
- Screwdriver or wrench set
Step-by-Step Guide to Cleaning Electrical Connections
Step 1: Disconnect The Battery
Before you begin cleaning the electrical connections, it’s crucial to disconnect the car battery to prevent any electrical mishaps. Use a wrench or a screwdriver to loosen the nut on the negative terminal of the battery and then remove the negative cable from the terminal. Be sure to secure the cable away from the battery to avoid accidental contact.
Step 2: Locate The Electrical Connections
Identify the electrical connections that you want to clean. These connections may include those on the battery terminals, fuses, relays, sensors, and wiring harness connectors.
Step 3: Clean The Connections
Use a wire brush or abrasive pad to gently remove any corrosion or dirt from the electrical terminals. Be cautious not to apply too much pressure, as you could damage the metal surfaces. Once the visible dirt and corrosion are removed, use a clean rag or paper towel and contact cleaner or rubbing alcohol to wipe the connections clean.
Step 4: Apply Dielectric Grease
After the connections are clean and dry, apply a small amount of dielectric grease to the terminals. Dielectric grease helps to protect the metal surfaces from moisture and corrosion, improving the conductivity of the connections.
Step 5: Reconnect The Battery
Once you have cleaned and applied dielectric grease to all the necessary connections, reattach the negative cable to the negative terminal of the battery and tighten the nut securely.
Conclusion
Maintaining clean electrical connections in your car is a simple yet important aspect of car maintenance. By following the steps outlined in this guide, you can ensure the proper functioning of your car’s electrical system and minimize the risk of electrical issues down the road. Regular cleaning and maintenance of electrical connections can go a long way in keeping your car running smoothly and reliably.


