When working on your car’s electrical system, you may need to remove electrical connectors for various reasons such as repairs, upgrades, or modifications. However, removing electrical connectors can be a tricky task if not done properly. In this guide, we will discuss the steps and techniques for safely removing electrical connectors on cars.
Importance of Removing Electrical Connectors Safely
Before we delve into the steps of removing electrical connectors, it is crucial to understand the importance of doing so safely. Mishandling electrical connectors can lead to damage to the connectors, wiring, or components, and in some cases, it can result in electrical shorts or fires. Therefore, it is essential to follow proper procedures to avoid any potential hazards.
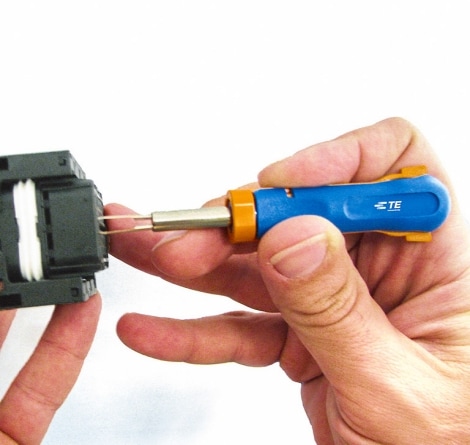
Credit: www.te.com
Steps to Remove Electrical Connectors on Cars
Here are the steps to safely remove electrical connectors from your car:
1. Gather The Necessary Tools
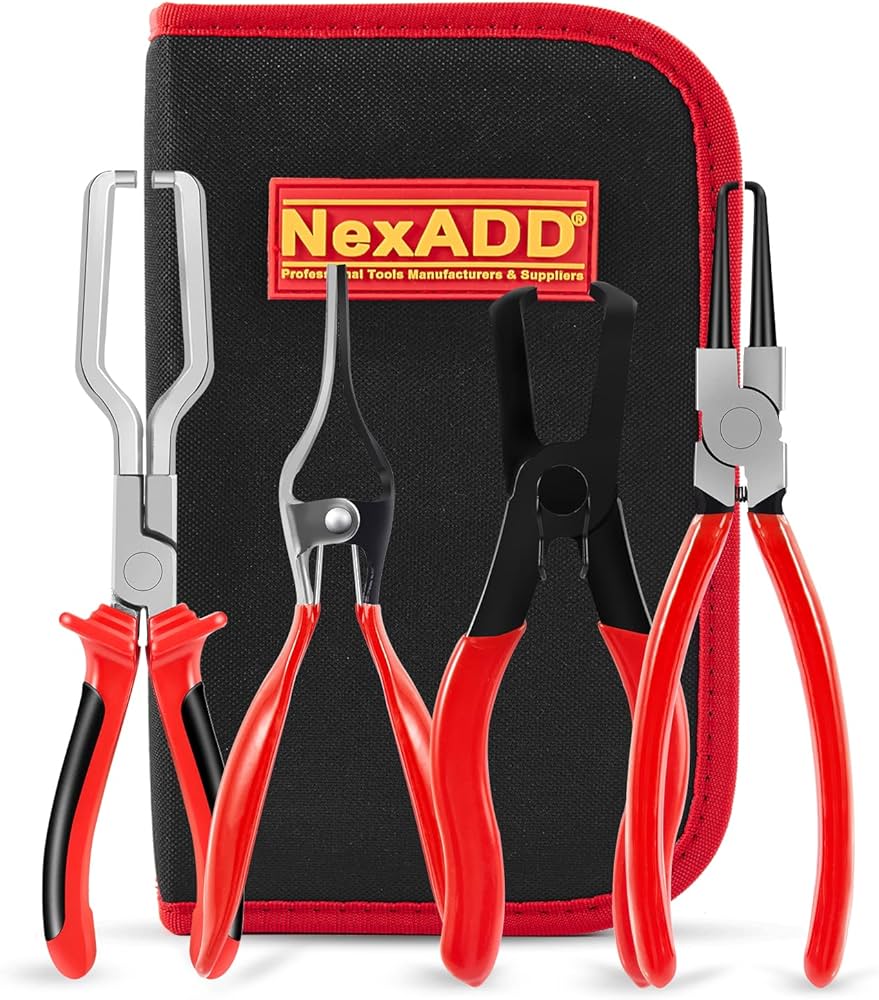
Before starting the connector removal process, make sure you have the appropriate tools on hand. These may include screwdrivers, pliers, or specific connector release tools depending on the type of connectors in your car.
2. Disconnect The Battery
Prior to working on any electrical components, always disconnect the car’s battery to prevent any electrical mishaps.
3. Identify The Type Of Connector
There are various types of electrical connectors used in cars, such as push-to-seat connectors, tab connectors, and locking connectors. Understanding the type of connector you are dealing with will help you use the right approach for removal.
4. Release The Locking Mechanism
If the connector has a locking mechanism, carefully release it using a small flathead screwdriver or a specific release tool. Be gentle to avoid breaking the locking tabs.
5. Depressurize The Connector
Some connectors, especially those related to fuel systems, may be under pressure. It is important to depressurize them before attempting to remove the connectors to prevent fuel spills or injury.
6. Use The Correct Technique
For push-to-seat connectors, gently press the tab and wiggle the connector to release it. Tab connectors may require pressing the tab and then pulling the connector apart. Always refer to the car’s manual for specific instructions on dealing with the type of connectors in your vehicle.
7. Inspect For Damage
Once the connector is removed, carefully inspect it for any signs of damage such as broken pins, corrosion, or wire damage. If any issues are found, they should be addressed before reinstallation.
Conclusion
Removing electrical connectors on cars is a task that requires patience and precision. By following the steps outlined in this guide and being mindful of safety precautions, you can effectively remove electrical connectors without causing any damage to the connectors or the vehicle’s electrical system. Always consult the car’s manual for specific instructions and, when in doubt, seek assistance from a professional mechanic.


